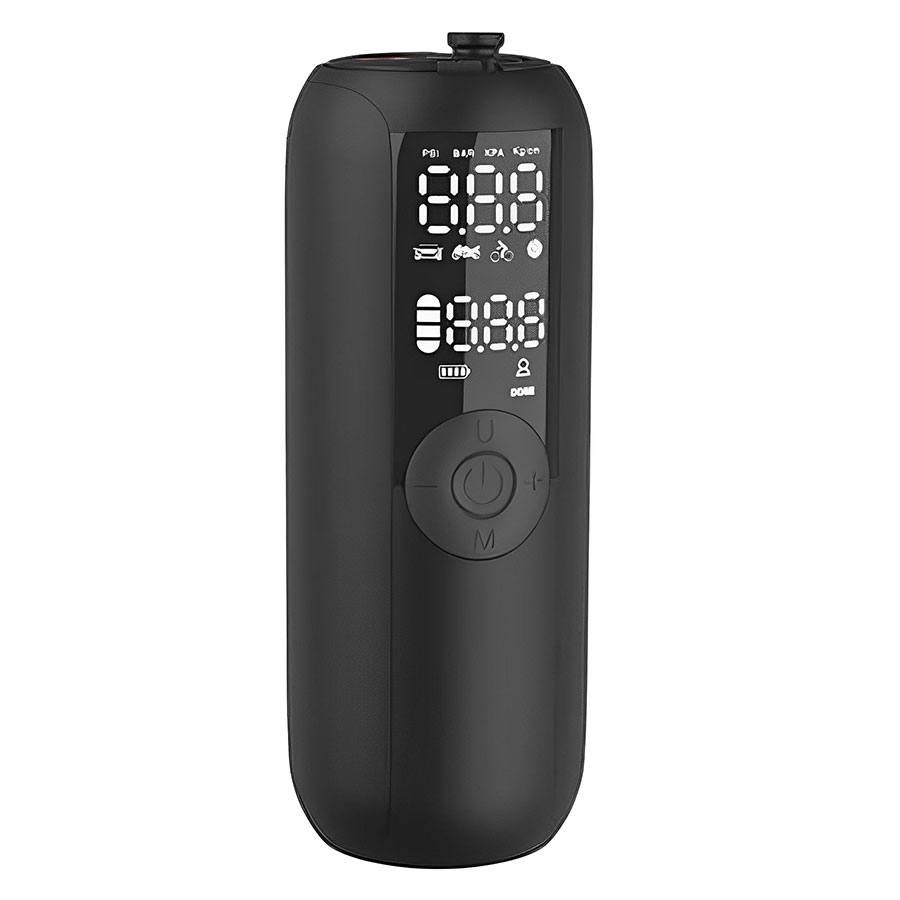
A portable tire inflator is a handy tool that allows you to quickly and easily inflate your tires whenever needed. Whether you're at home, on the road, or in an emergency, knowing how to use a portable tire inflator can save you time and hassle. In this step-by-step guide, we'll walk you through the process of using a portable tire inflator to inflate your tires safely and efficiently.
Step 1: Choose the Right Inflator
Before you begin, make sure you have the right portable tire inflator for your needs. Consider factors such as power source, maximum pressure capacity, and compatibility with your vehicle's tires. Ensure that the inflator's nozzle is compatible with your tire's valve stem.
Step 2: Prepare the Inflator
If your portable tire inflator is battery-powered, ensure that the battery is fully charged. If it's powered by your car's 12V DC outlet, make sure the inflator is plugged in and ready to use. Check that the hose and nozzle are securely attached to the inflator.
Step 3: Check Tire Pressure
Before inflating your tires, check the manufacturer's recommended tire pressure for your vehicle. You can find this information in your vehicle's owner's manual or on a sticker located on the driver's side door jamb. Use a tire pressure gauge to check the current pressure of your tires.
Step 4: Connect the Inflator to the Tire
Remove the valve cap from the tire's valve stem. Attach the nozzle of the inflator to the valve stem, ensuring a tight seal. Some inflators may have a locking mechanism to secure the nozzle in place.
Step 5: Set the Desired Pressure
Most portable tire inflators allow you to set the desired tire pressure using a digital display. Use the plus and minus buttons to adjust the pressure to the recommended level for your vehicle. If your inflator does not have this feature, you can manually monitor the pressure using a tire pressure gauge.
Step 6: Inflate the Tire
Once you've set the desired pressure, turn on the inflator to start inflating the tire. The inflator will automatically shut off once the tire reaches the set pressure. If your inflator does not have an automatic shut-off feature, monitor the pressure closely and stop inflating once you reach the desired pressure.
Step 7: Check the Pressure
After inflating the tire, use a tire pressure gauge to check the pressure and ensure it matches the recommended level. If the pressure is too high, you can release some air by pressing the valve stem's center pin with the gauge or the inflator's release button.
Step 8: Disconnect the Inflator
Once you've reached the desired tire pressure, turn off the inflator and disconnect it from the valve stem. Replace the valve cap on the tire's valve stem to prevent dust and debris from entering.
Step 9: Repeat for Other Tires
If you're inflating multiple tires, repeat the above steps for each tire. Remember to check the pressure and adjust as needed for each tire.
Step 10: Store the Inflator
After you've finished inflating your tires, store the portable tire inflator in a safe place in your vehicle. Ensure that it is secure and won't roll around while driving.
Safety Tips
- Always use a tire pressure gauge to check the pressure before and after inflating your tires.
- Do not overinflate your tires, as this can cause them to burst.
- If you notice any damage or signs of wear on your tires, have them inspected by a professional before inflating them.
- Follow the manufacturer's instructions for your portable tire inflator to ensure safe and proper use.
By following these simple steps, you can safely and efficiently inflate your tires using a portable tire inflator. With this valuable tool on hand, you can ensure that your tires are always properly inflated, improving your vehicle's performance and safety on the road.
